


Before and after pics of boring old trousers into funky new skirt!
Here's the tutorial I promised yesterday on how to make a pair of trousers into a skirt. I used a pair of trousers made out of a tweed fabric - which frays very easily, but I wanted this to be part of the detailing of the skirt, so have left the edges raw - but you don't have to!
Step 1: You need to undo the inside leg seam - either unpick it or if you're impatient like I was because it was taking too long with material that liked to fray easily, you can cut the seam out with scissors, it won't make any difference to the fit. Also undo the crotch seam for a couple of inches until the material can lie flat for the next stage.
Step 2: Overlap the legs at back and front until they lie flat, and look like this:

Then sew along the crotch seam and overlapped inner leg seam.

Decide on the length of your skirt, add 5 cms for mistakes and cut.
Step 3: Lay some of the spare leg fabric under the 'v' where legs are overlapping. Pin when you're happy that all the fabric lays flat. Using zigzag sew the fabric to the inner leg. I also topstitched with a straight stitch. Repeat for the back of the skirt. A word of warning - there are a few layers of fabric so you may have to keep a check that they are all lying flat and in place, it's so easy to sew bits you don't mean to and we don't want too much unpicking going on!

Step 4: Now you can hem the skirt properly and trim it to the right length - this is why we left a little extra at step 2 - so you have some room to play with!
Step 5: Trim up the fabric on the wrong side of the skirt as you'll have some 'flaps' of fabric. Using pinking shears is a good idea if you have them.

This pic shows the reverse side of the skirt neatly trimmed.
Step 6: Topstitch the hem with zigzag and a row of straight stitch as before.

You can leave the skirt like this if you want, or you can add some extra elements ...
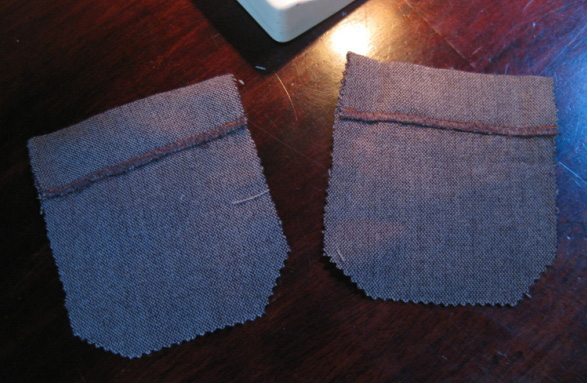
Step 7: Cut pockets from remaining scraps of legs. I used the hem as the turnover. Cut to a pleasing size! Pin, tack and sew the pockets in your desired position.

Step 8: To make a ruffle, cut strips of fabric about 4 cms wide, I sewed together strips until they were about twice as long as the hem of the skirt. Zigzag stitch along the edges if you like. Sew a line of gathering stitch along the centre of the strip. Pull up your gathers carefully so as not to snap the threads (you could always gather the strip in smaller sections if that is easeir) until it fits along the length of the hem.

Step 9: Sew to the bottom of your skirt, flattening the ruffle as you go along so that it feeds through the machine easily. Take your time! Use the gathering stitch line as your guide.

Et voila! You now have a totally unique, exclusive wearable creation!
I'm hoping that these instructions are clear, but feel free to email me from my profile if you'd like further clarification. :)
2 comments:
Love! Thanks for the tutorial. What a great idea... and your skirt looks terrific. Very funky for sure.
Amazing tutorial dear.. fantastic way to create our own funky skirts...
Thanks dear keep Updating
Post a Comment